Kingston jacket
Dec. 9th, 2017 05:41 pmSo, I seem to have fallen in love with Rebecca Page’s patterns. The ones I’ve made so far are wonderfully written. If you are experienced at this sewing lark, or like figuring things out, you can follow the one page cheat-sheet. If you are more of a novice, or, like me, you sew while watching telly or with only half a brain available, you’ll no doubt appreciate the very detailed pages and pages of instructions and many photos in every step.
The Kingston jacket is no different. The pattern walks you through flat fell seams (why do I make so many things with flat fell seams these days?), pockets, setting sleeves in the armscye, and pretty much every single thing you need to do. Bonus points for always stating which piece to put on top when sewing flat fell seams, so I didn’t have to figure that out every time.
I made the jacket with the standard long sleeves, with the optional front pockets and the side seam pockets.
Here’s the final result:
The full jacket:

The back, with the contrasting collar back

The side. Notice how the pockets are hiding?

The cuffs, in contrasting fabric too.

The all important hanging loop!
The fabric is lightweight stretch denim, which makes the sewing easier but still gives the jacket the right look and feel. It’s 7.5oz coloured denim from Empress Mills. I used contrasting fabric on the back of the collar, the inside of the cuffs, the inside of the tabs on the back and the side seam pockets.
I used topstitching thread on the top, which makes the flat fell seams look more the part. Buttons are plain jeans studs from Prym.
Things to remember the next time:
The Kingston jacket is no different. The pattern walks you through flat fell seams (why do I make so many things with flat fell seams these days?), pockets, setting sleeves in the armscye, and pretty much every single thing you need to do. Bonus points for always stating which piece to put on top when sewing flat fell seams, so I didn’t have to figure that out every time.
I made the jacket with the standard long sleeves, with the optional front pockets and the side seam pockets.
Here’s the final result:
The full jacket:

The back, with the contrasting collar back
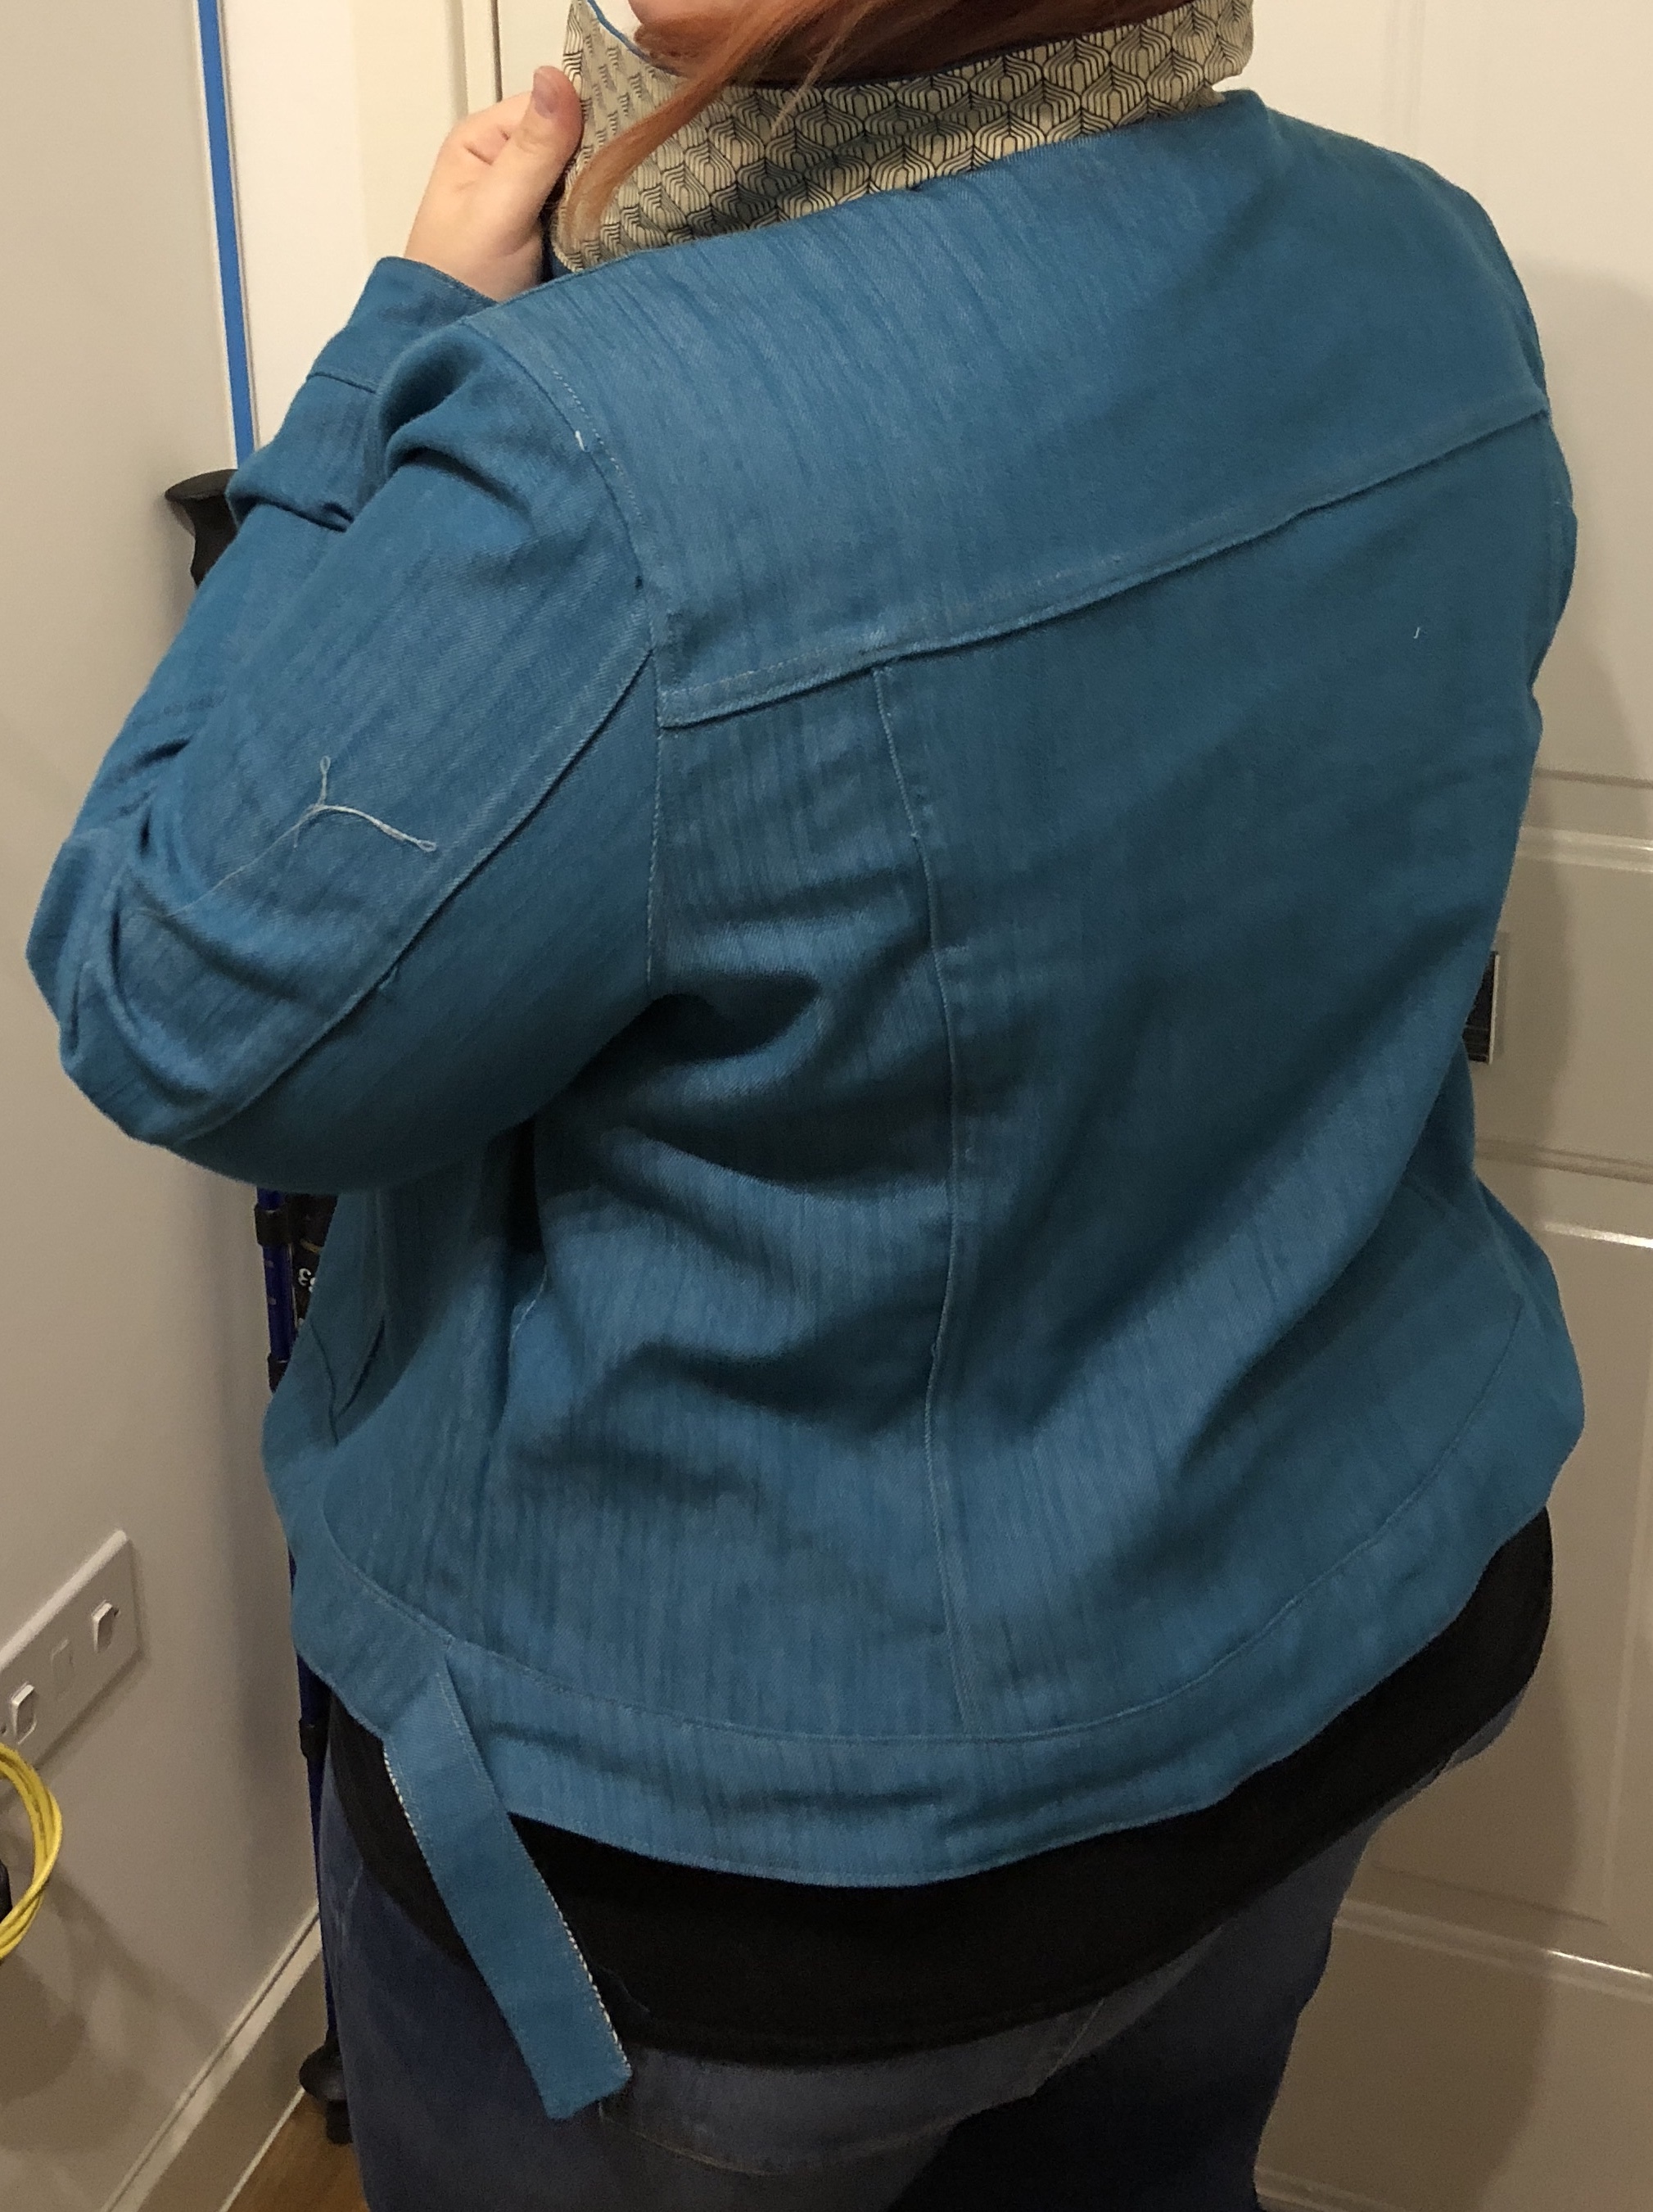
The side. Notice how the pockets are hiding?

The cuffs, in contrasting fabric too.

The all important hanging loop!

The fabric is lightweight stretch denim, which makes the sewing easier but still gives the jacket the right look and feel. It’s 7.5oz coloured denim from Empress Mills. I used contrasting fabric on the back of the collar, the inside of the cuffs, the inside of the tabs on the back and the side seam pockets.
I used topstitching thread on the top, which makes the flat fell seams look more the part. Buttons are plain jeans studs from Prym.
Things to remember the next time:
- When stitching the flat of the front pockets, it’s easier to baste/stitch that first, then do the flat fell seam on top. I learnt this the hard way.
- I made the wrong pockets! I meant to do the welt pockets and then inside pockets from the pattern add on, but I forgot. Oh well.
- It does pay to spend time aligning the sleeves. I managed to get one to match the seam on the sleeve to the seam on the back, but not the other.
- I’ll probably lengthen the pattern by about 10-15 cm. The jacket sits where denim jackets usually do, but I like my jackets longer.