Stitch Upon a Time Calista bra
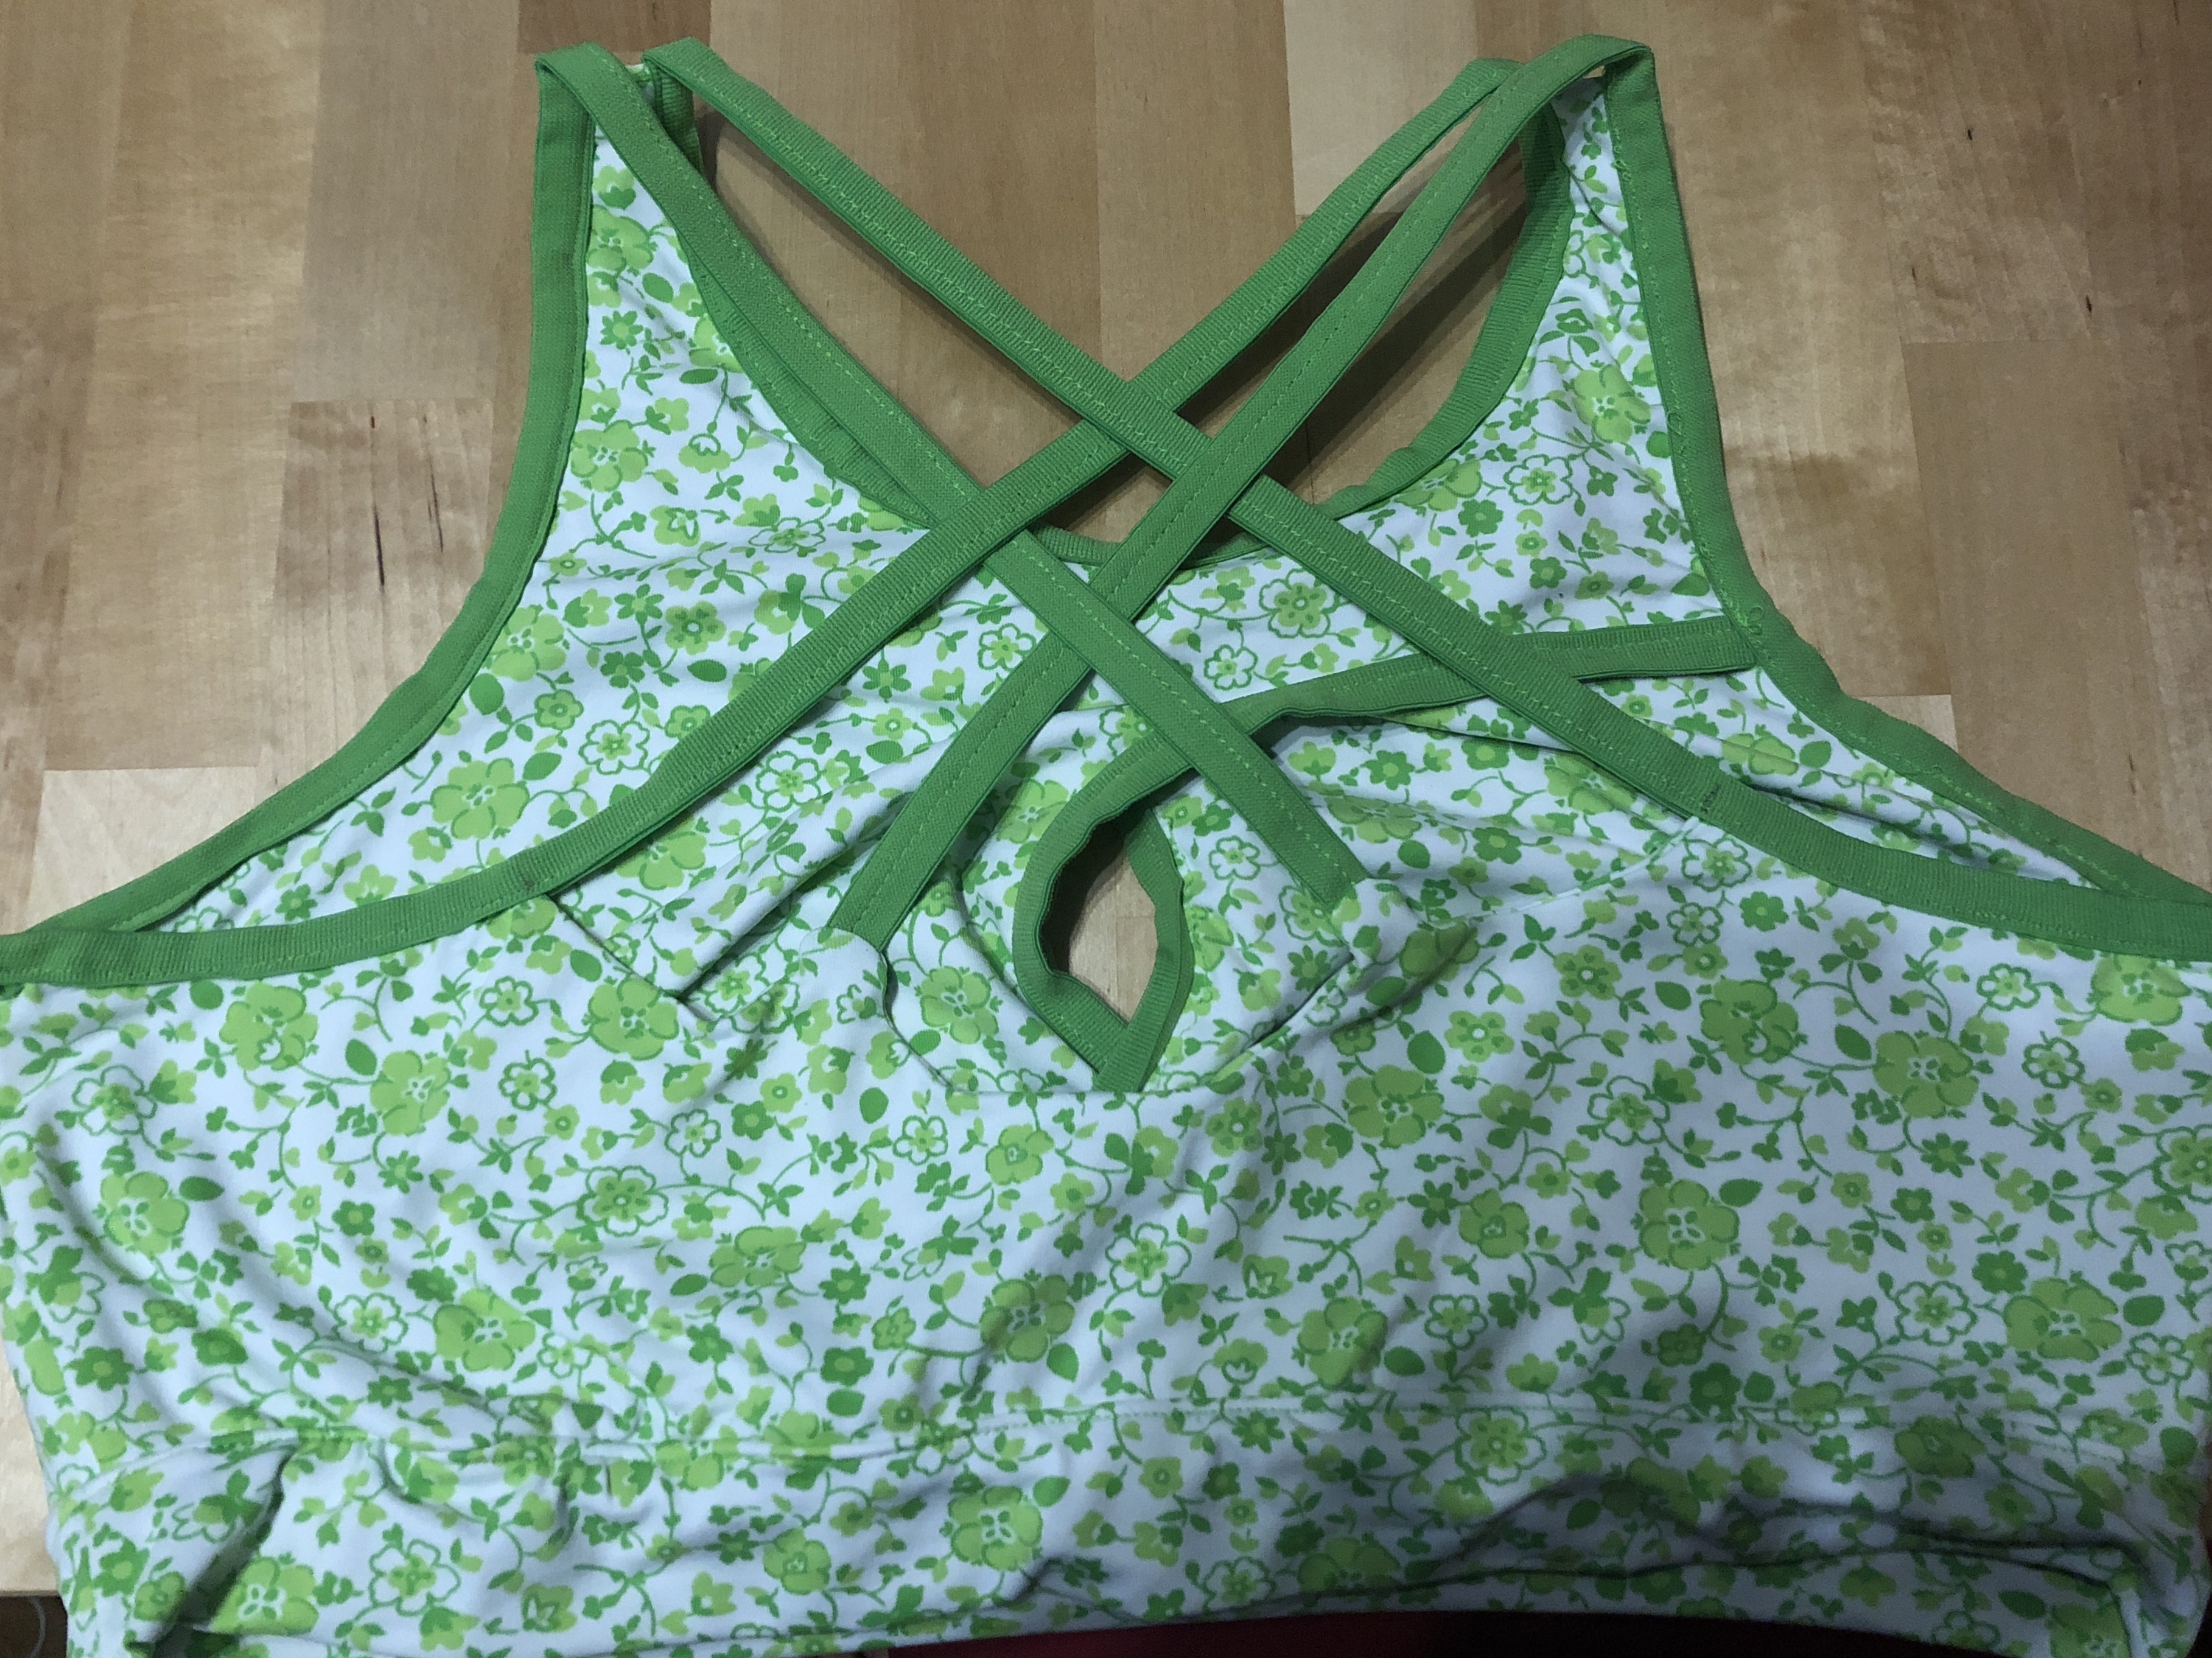
Aug. 3rd, 2018 09:34 pm I fell in love with the Calista bra/tshirt from Stitch Upon a Time. But, being somewhat on the large side, I wondered whether it would be supportive enough. So, I decided to schew my usual cotton jersey, and went with a cotton/Lycra mix with more Lycra than I would normally use. In a lovely white background / green shamrock pattern, with green foldover elastic.


According to measurements, I’m a size 2XL, so I went for that. I went for the purple line (for more than 4.5” difference between underbust and bust measurements) and for the full coverage line around the sides. I cut the strappy back, rather than the racer back option, because I usually struggle to get into racerbacks...
I cut both lining and outer from the same fabric - will make variations on future versions. And, as usual when cutting fabric, the mirror pieces weren’t exactly mirrored - probably just an eighth of an inch here and there, but enough to make it annoying to match them.
The making of the bra took about 4 episodes of Star Trek The Next Generation, so about 3 hours. The instructions, as usual, are very detailed and easy to follow. It would go much easier with a serger, but it’s very doable with a sewing machine and a stretch stitch. If I make it again, I may use a zig zag (probably a three step zig zag) to secure the foldover elastic. Which, by the way, was easier to attach than I was expecting after my previous experience with it.
The end result is good, but, as I suspected, there isn’t enough support for me. It’ll be good for wearing at home, and even to sleep in (I’d make a version with the tunic for that!), but it won’t do for a proper bra, and even less for wearing as a top... It’ll look good over my usual bras, though, although the strappy back would show the back of a bra (not that I care about that).
Worth noting that the point at which the pattern calls for trying it on to determine the length of the straps does not give a good idea of how the final item will fit - because it hasn’t got the foldover elastic on the underarms or the neckline yet.
I’m not sure about the bra band and the 1cm elastic added to it - I keep thinking there must be a simpler way to do that bit, preferably one that would result in the elastic being fully encased rather than just hidden behind the waistband, but I can’t see how to do that right now. For the time being, I’ve topstitched the band with the seam allowance towards the band to ensure the elastic stays hidden.
Suggestions for next variations:
- Make a straight strap back version. This would require printing the curved front again, as I cut that one for the strappy back. I could do the plain front, but I quite like the curved front, and I think it provides more support. I might make this one a tunic
- Use a stronger lining. Maybe add a layer of powernet sandwiched between the inner and outer. That won’t provide shaping, but it may offer more support.
- Add a bit of “seam allowance” to the bottom of the front and back, to have a larger seam allowance when attaching it to the band or tunic - this might make it easier to hide the 1cm elastic